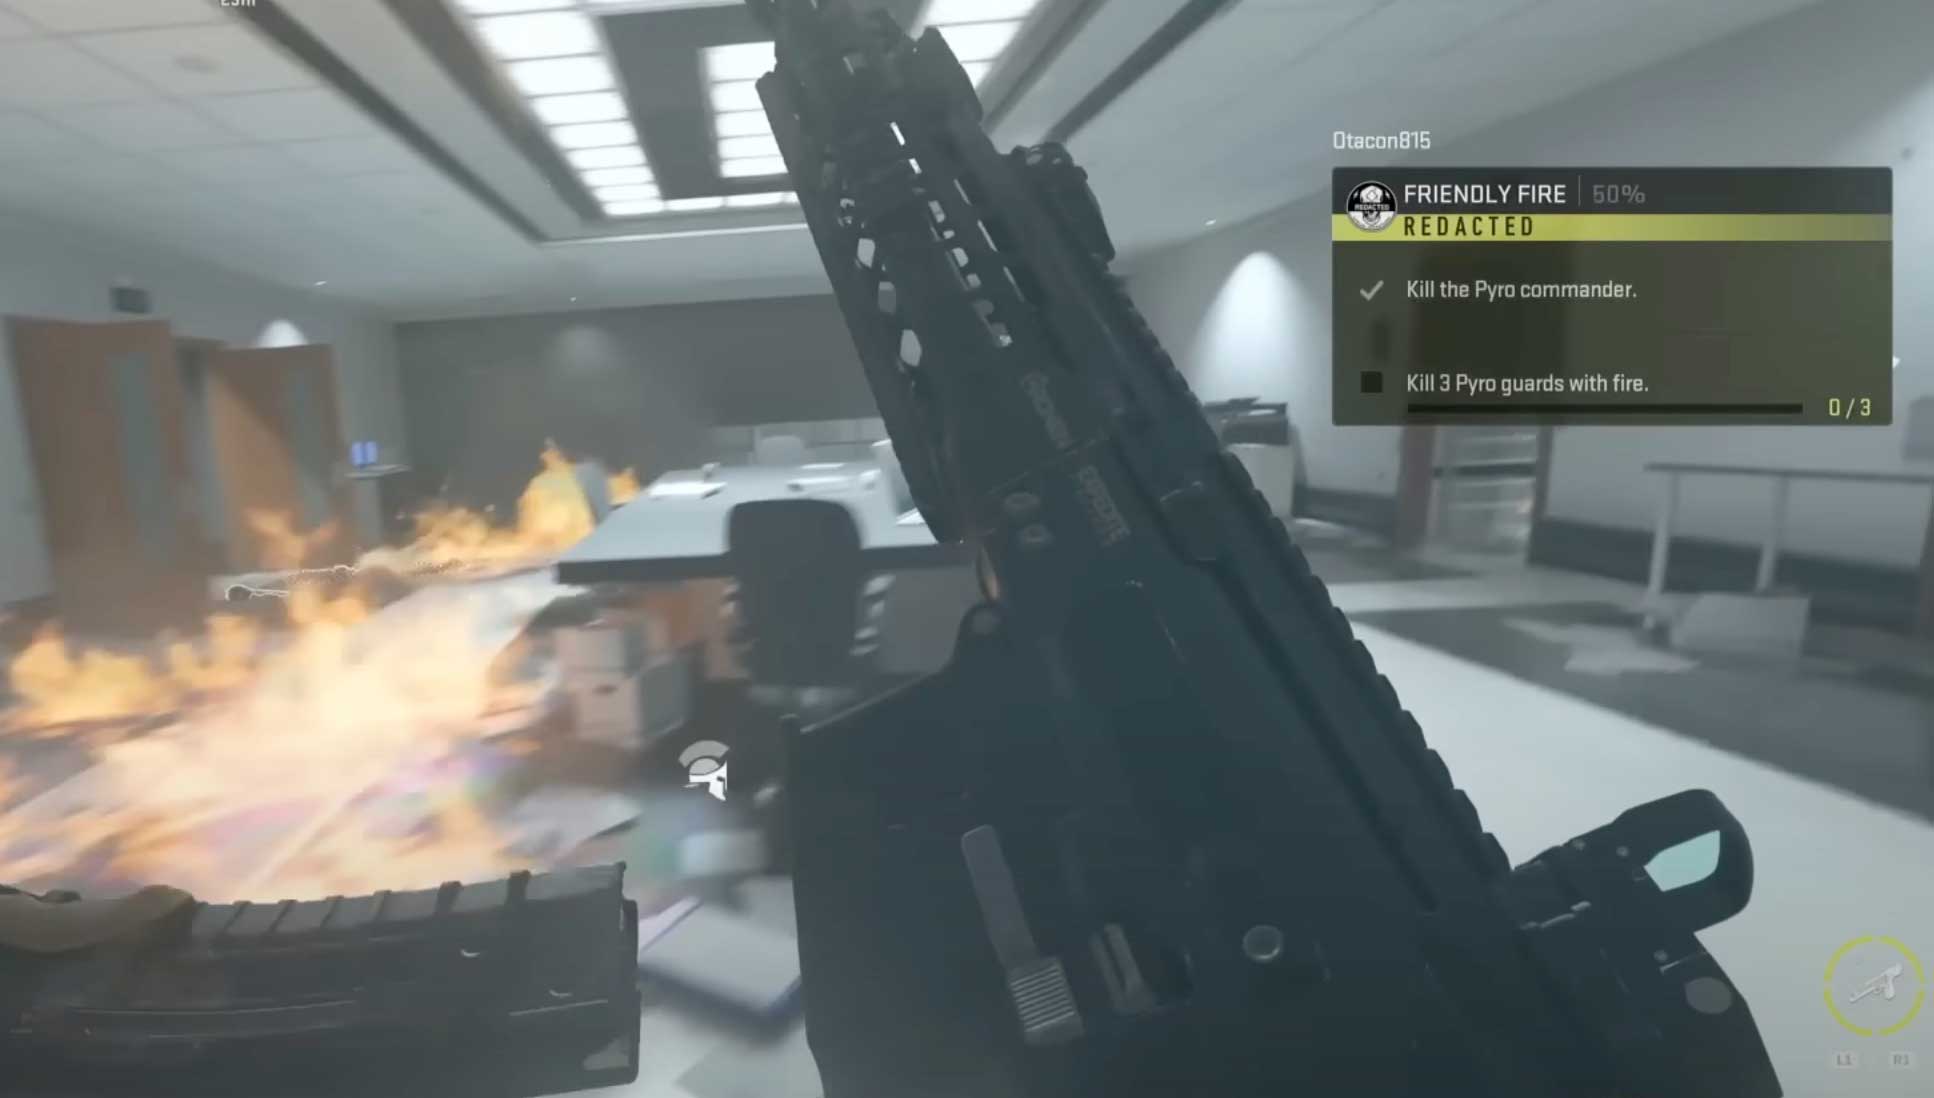
The DMZ game mode in Modern Warfare and Warzone 2 introduces a formidable new boss, the Pyro Commander, who poses a significant challenge for players seeking to complete the Redacted tier-three mission, Friendly Fire. This fiery soldier, accompanied by a squad of well-armed Pyro guards, can be difficult to locate and even harder to defeat. In this comprehensive guide, we’ll reveal where to find the Pyro Commander and share battle-tested strategies for eliminating this dangerous foe. Remember, the focus keyword for this article is Pyro Commander.
Also Read
Fix: COD Warzone 2 DMZ Building 21 DLC Error
All the Keys in COD MW2 Warzone 2 DMZ – DMZ Key Tier List
All New Bosses in Warzone 2 DMZ Season 3
How to Discover What the AQ is Looking for in the Oasis in DMZ
How to Play Call of Duty Warzone Mobile on PC?
How to Increase Faction Reputation Quickly on COD Warzone 2 DMZ
Fix: Warzone 2 DMZ Can’t Access Backpack After Wallet Unlock
How to Fix COD MW2 and Warzone 2 Won’t Update in Season 5
Fix: Warzone 2 Battle Pass Tokens Not Showing or Not Working
COD Warzone 2 No Recoil Macro Script for Logitech, Razer
Page Contents
Finding the Pyro Commander:

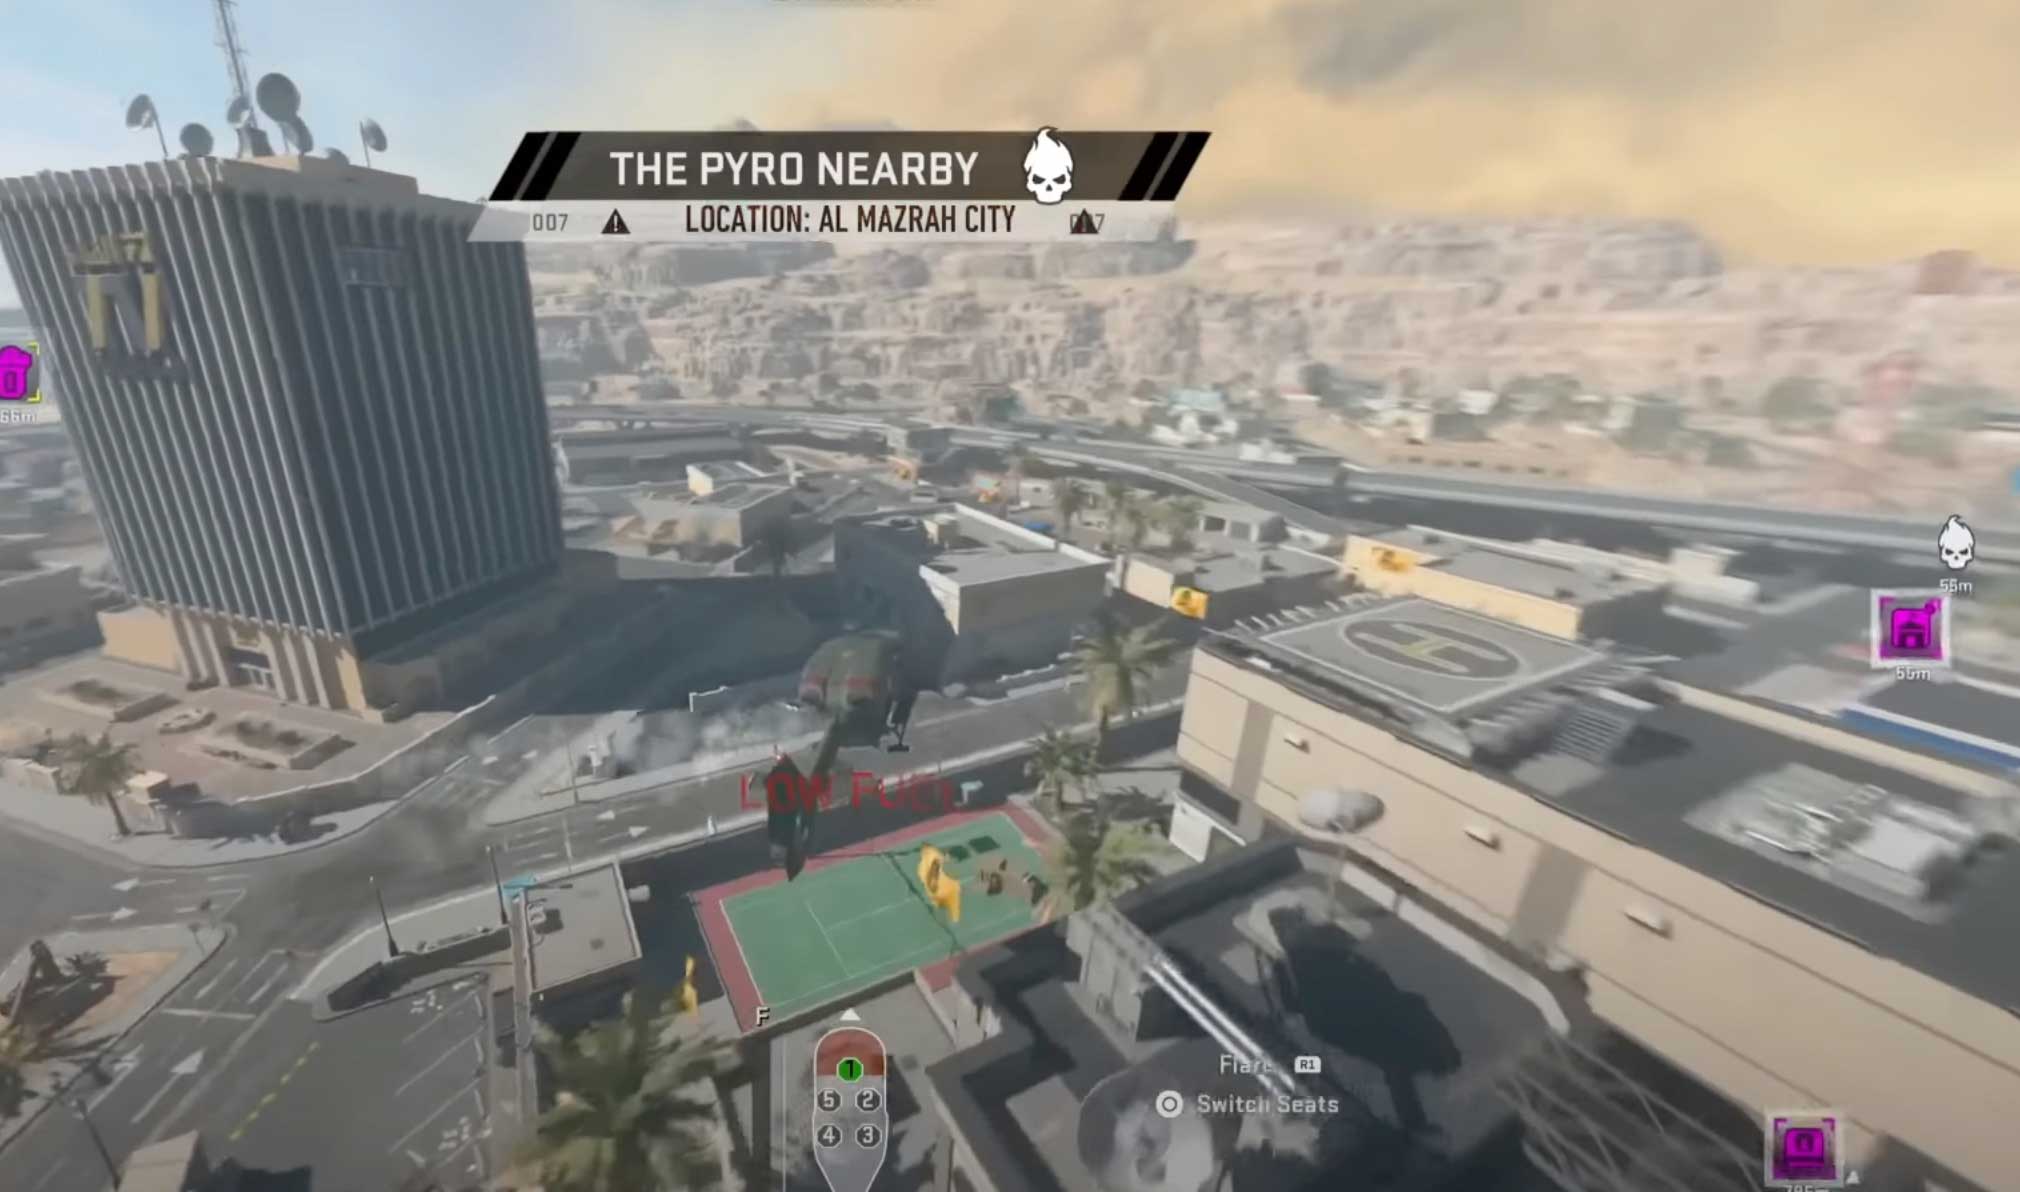
The Pyro Commander randomly spawns inside a Stronghold situated around the DMZ map. The most effective way to locate him is by traveling quickly with an ATV or helicopter and keeping an eye out for the warning sign that indicates his proximity. Having various keys or a Skeleton key on hand is crucial to access the building he occupies is crucial.
The Pyro Commander can be found exclusively in Al Mazrah, and players are advised to check the Weapon Case locations at the Airport Control Tower, Downtown Post Office, and the US Embassy in Al Mazrah City. If the Weapon Case spawns on the Train, you will need to search for the Commander using a Light Helo.
Preparing for Battle:
As every spawn of the Pyro Commander is guarded by locked doors, you’ll need a Special Key or a Skeleton Key to gain entry to the Stronghold. These keys can be found by purchasing them at Buy Stations, looting, or bartering for a Skeleton Key using items such as the Cassette Recorder, Vintage Wine, and Hard Drive.
Loadout Recommendations:
To effectively battle the Pyro Commander, it’s vital to choose the right loadout. We recommend an Assault Rifle with Armor-Piercing Bullets, an Optic for long-range shots, and a Drill Charge or Thermite to counter his Riot Shield. Stims, Self Revives, an Armored Vest, and enough Plates for Replating are also essential to ensure your survival.
Defeating the Pyro Commander:
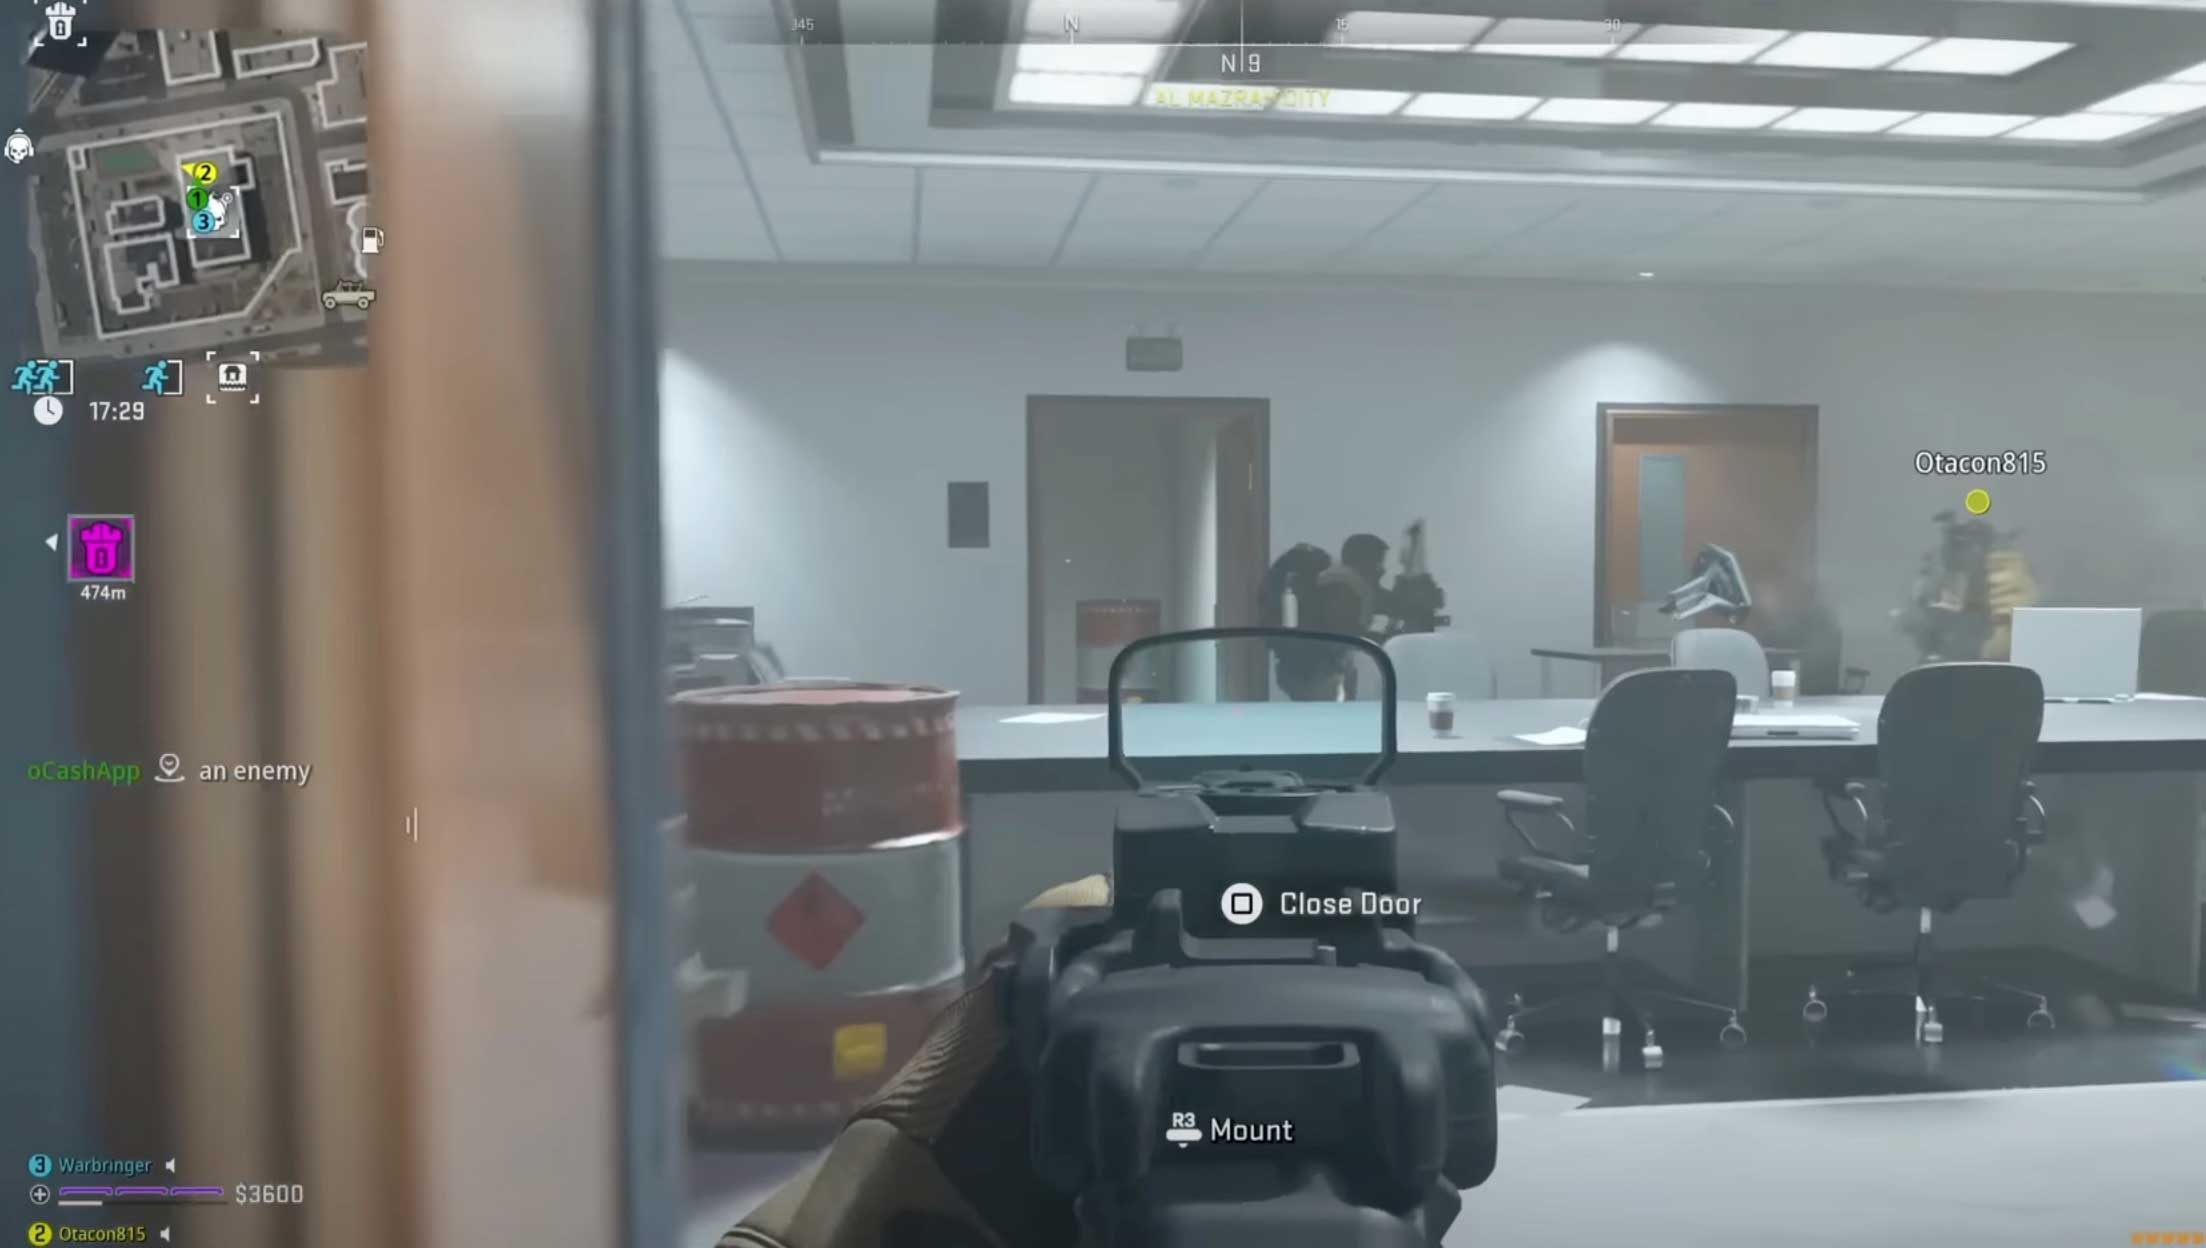
Upon entering the Stronghold, exercise caution around explosive barrels and eliminate the Trophy System to use your equipment effectively. Employ the following strategies to take down the Pyro Commander:
Flanking: Coordinate with your squad to flank the Pyro Commander, focusing your fire on his head to break his armor quickly and efficiently.

Environmental Damage: Use explosive barrels to your advantage when the Commander is nearby, dealing additional damage to him.

Distance and Cover: Maintain a safe distance and utilize cover, such as chairs and stairwells, to avoid being caught by the Pyro Commander’s deadly shotgun.
Teamwork: If playing in a squad, designate a player to distract the Commander while the others focus on dealing damage.
Also Read
Conclusion:
Finding and defeating the Pyro Commander in DMZ can be daunting, but with the right strategy, loadout, and knowledge of his potential locations, you can rise to the challenge. Remember to work with your team, employ the suggested tactics, and always prioritize survival to emerge victorious in your battle against the fearsome Pyro Commander.
Also Read
