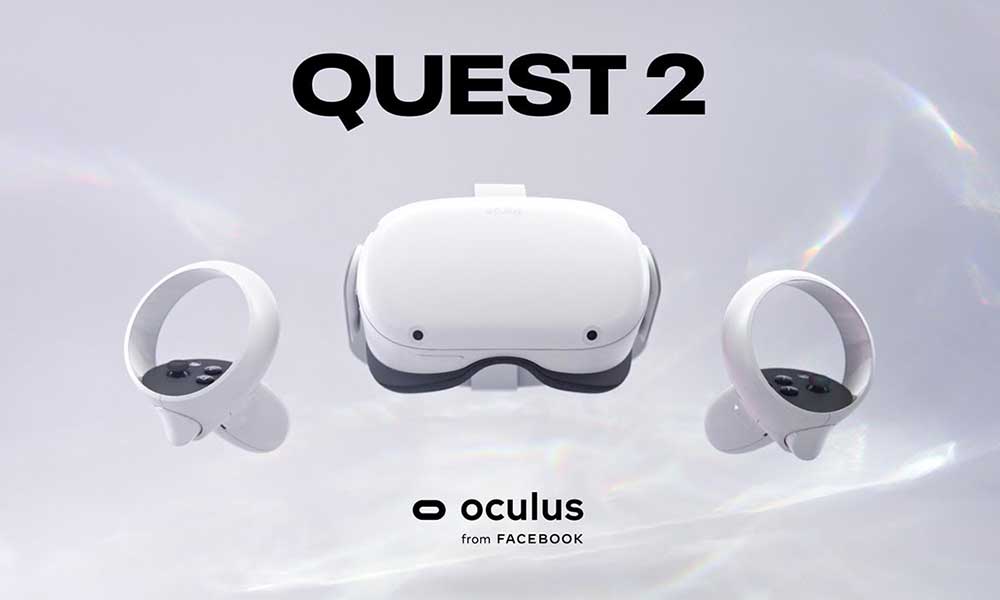
Oculus Quest 2 is the advanced virtual reality (VR) headset, developed by Facebook (Meta) that offers the users to get interact with the virtual world elements in an immersive viewing experience like never before. It did release in September 2020 and gathered plenty of mixed reviews. Meanwhile, some users are reporting that Oculus Quest 2 gets Stuck at the 72Hz Refresh Rate limit which is annoying and starts appearing after the recent v39 update.
Now, if you’re also one of the victims to encounter the same issue quite frequently then you can follow this troubleshooting guide completely to fix it. According to several reports, plenty of Oculus Quest 2 users have also tried reinstalling the software and restarting their PCs but these steps didn’t help at all. So, the chances are quite high that the recently installed v39 patch update is a major reason behind such an issue which needs to be fixed asap.
Also Read
Fix: Oculus Quest 2 Lagging When Connected To PC
Fix: Oculus Quest 2 Not Pairing to Phone, PC or TV
Fix: SideQuest Not Detecting/Connecting Oculus Quest 2 Headset
Fix: Oculus Quest 2 Hand Tracking Not Working
Fix: Oculus Air Link Not Working or Pairing to Windows 7, 10, or 11
How to Fix PS4 VR Controller Not Working Issue
How to Install SideQuest on Oculus Quest 2
Fix: Oculus Quest Software Update Stuck on Downloading

Page Contents
Fix: Oculus Quest 2 Stuck at 72Hz Refresh Rate
Luckily, Oculus Support has acknowledged this issue and they’re investigating it. This specific issue where the users are stuck at a 72Hz refresh rate is quite strange because such a problem didn’t happen before. That means the recent v39 stable update has some conflicts or malfunction with the VR refresh rate configuration and nothing else. It’s worth mentioning that the affected users can install the v40 beta update and easily fix this issue without waiting further.
Can’t seem to enable 120hz all of a sudden on quest 2.. or anything except for 72hz, disabling recommended doesn’t help.. what can it try to do?
by u/Bar1201 in oculus
So, you’ll have to adb sideload the firmware file on your Oculus Quest 2 by following the steps below. Make sure to follow all the requirements properly to avoid failures and errors while/after firmware flashing. Now, without further ado, let’s get into it.
Pre-Requisites:
As mentioned, it’s highly recommended to follow all the requirements one by one before getting into the unbricking guide.
1. You Need a PC or Laptop and a USB cable
First of all, you’ll require a Windows desktop/laptop and a USB cable to easily connect your Oculus Quest 2 VR headset to the computer. It’s important.
2. Charge Your Headset
Make sure to charge your device battery sufficiently (more than 60%) to avoid any kind of issue or shutdown during the firmware flashing process.
3. Install Android SDK
You’ll also have to install the Android SDK Platform Tools on your Windows PC. It’s the official ADB and Fastboot binary, provided by Google which will come in handy while running adb and fastboot commands on the device.
4. Download Oculus Quest 2 ROM
We’ve managed to provide you with the latest v40 beta update (q2_ptc_28467500574000000.zip) firmware file link here that you can download right away.
Warning: GetDroidTips won’t be held responsible for any kind of damage or error that may happen at your end while/after following this guide. Please perform all the steps at your own risk.
Steps to Boot Oculus Quest 2 to ADB Sideload Mode
- First of all, make sure to Power OFF your Oculus Quest 2 manually.
- Now, press and hold the Volume Down + Power buttons together for a few seconds.
- Your Oculus Quest 2 VR headset will now boot to the Recovery Mode.
- Next, you’ll need to use the Volume keys to navigate and highlight the ADB Sideload option.
- Then press the Power key to confirm it > Your VR headset is now ready for the adb sideload method.
Guide to Install Oculus Quest 2 Firmware via ADB Sideload
- Now, make sure to connect your Oculus Quest 2 VR headset to the PC via the USB cable.
- It’s recommended to rename the downloaded firmware file to rom.zip to make it easy to install.
- Then copy-paste the renamed firmware file to the ADB Fastboot (platform-tools) folder on the PC.
- Next, open the platform-tools folder > Type CMD in the address bar and hit Enter to open Command Prompt.

- Type the following command line inside the CMD window and hit Enter to start sideloading the firmware.
adb sideload rom.zip
- Wait for the installation process to complete as it may take some time. So, have some patience. [During the flashing process, don’t unplug the USB cable from the PC or Oculus Quest 2]
- Once done, you can disconnect the USB cable from the VR headset, and try rebooting it to the system by pressing the Power button manually [if it doesn’t boot up automatically].
- Finally, go through the initial setup process (if required), and you’re good to go.
- Enjoy!
That’s it, guys. We assume this guide was helpful to you and the refresh rate stuck at 72Hz issue should disappear now. For further queries, you can comment below.
Also Read
