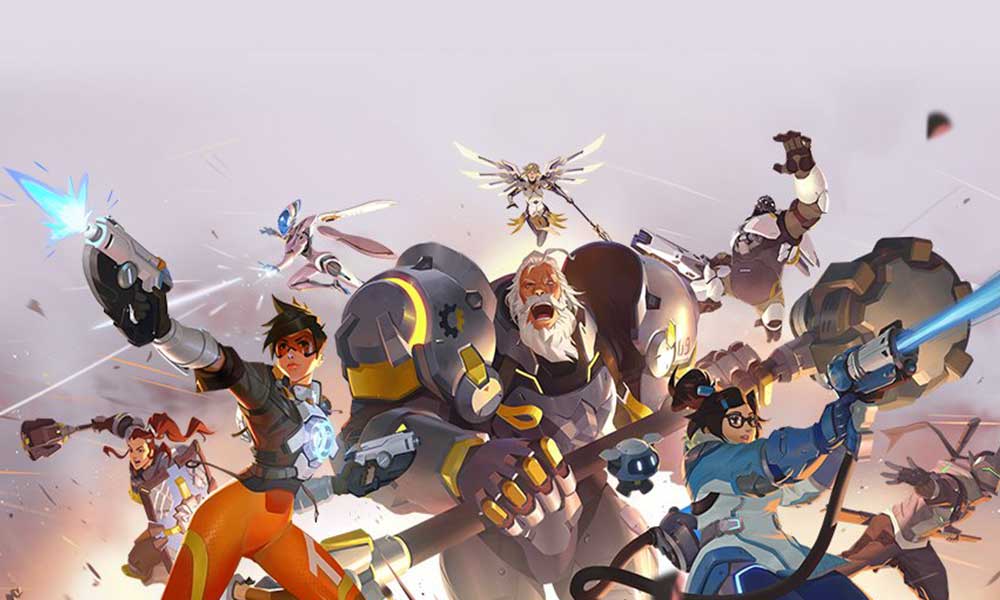
Blizzard Entertainment can’t get enough time for relief because the newly released Overwatch 2 has a bunch of bugs and errors that are frustrating players. This 2022 first-person hero shooter video game offers PvP and Co-op modes that deliver a stunning gaming experience & attract new players due to the free-to-play version. However, several reports show that the Overwatch 2 Error of Player Playing Different Versions ruins the experience.
It seems that Overwatch 2 players are facing DDoS attacks to broken Ultimate abilities, lagging, crashing, graphical glitches, multiplayer issues, and so on. The particular “Player is in a Different Version” error message appears whenever someone tries to invite a friend to their party in the multiplayer mode. Therefore, players cannot get united from queuing up with their squad in the game, which affects the gameplay sessions badly.
Also Read
Overwatch 2 Best Graphics Settings for 3070, 3080, 3090, 1060, 1070, 2060, 2080, and More
Fix: Overwatch 2 League Tokens Not Showing Up After Purchase
How To Fix The Mobile Authentication Error On Overwatch 2
Fix: Overwatch 2 FPS Drop on Nintendo Switch | Increase Performance
Fix: Overwatch 2 Not Showing Friends List or New Request
Fix: Overwatch 2 applying update stuck error
Is Overwatch 2 Crossplay or Cross-Platform?
How to Fix If Overwatch 2 Replays Not Showing
Best Ramattra Counters in Overwatch 2

Page Contents
Fix: Overwatch 2 Error – Player Playing Different Version
However, not everyone is facing the same issue and some of the players are getting the notice that player and their friends are running on a different version of the game which isn’t actually true or doesn’t come under any valid reasons. Luckily, Blizzard is working on this issue deeply and we’re expecting that there might be a patch fix arriving pretty soon. Meanwhile, you can try some of the possible workarounds mentioned below to resolve such an issue.
1. Update Overwatch 2
It’s highly recommended to check for the latest updates of the Overwatch 2 game irrespective of the gaming device and then install the update. Mostly the outdated game version can cause the player playing different version when it comes to the online co-op modes. So, even if your game is up-to-date, you should make sure that your friends or teammates are having the up-to-date game version to avoid such errors. To do so:
For PC:
- Launch the battle.net client on the PC.
- Click on the Overwatch 2 game.
- Now, click on OPTIONS (Gear icon) > Click on Check for Updates.
- If there is an update available, make sure to install the update.
- Wait for the update to complete, and then reboot the PC.
For PlayStation:
- Select Start on the game’s bar.
- Choose Checking for updates.
- If the latest version is available, download and install it.
- Once done, make sure to reboot the console to apply changes.
For Xbox:
- From My Game & Apps, scroll down to the Manage section.
- Now, press the Update option.
- Check for updates and install (if available).
- Once done, make sure to reboot the console to apply changes.
For Nintendo Switch:
- From the Overwatch 2 bar, press Start.
- Select the Update option.
- Check for updates and install (if available).
- Once done, make sure to reboot the console to apply changes.
Also Read
2. Verify and Repair Game Files (PC Only)
Maybe there are a couple of corrupted or missing game files conflicting with the system running properly. You should always check for the integrity of the Overwatch 2 game files via the game launcher and then repair the same by following the steps below.
- Open the Battle.net client on your PC.
- Click on the Overwatch 2 game.
- Now, click on OPTIONS (Gear icon) > Click on Scan and Repair.
- Click on Begin Scan > Wait for the process to complete.
- Once done, close all programs, and restart your PC.
3. Try Using Chat Commands In-Game
If you’re still experiencing the ‘Different version of Overwatch 2’ error message again and again then make sure to use the in-game chat commands to invite or join your friends to your party. To do that:
- Launch the Overwatch 2 game > Open the Chat option.
- Type /invite or /join > Enter a space after that.
- Now, start typing your friend’s username to check if the list appears or not.
- You can then directly add your specific friend to the co-op mode.
4. Contact Blizzard Support
If none of the methods worked for you then make sure to contact Blizzard Support to submit the ticket about your specific issue. Make sure to add brief info about the error message and when it appears. Additionally, you can include details like which workarounds you have tried, etc. It might help developers to get into the solution quicker.
That’s it, guys. We hope this guide was helpful to you. For further queries, you can comment below.
Also Read
