Infinity Ward, Raven Software, and Activision have finally launched the all-new Call of Duty: Warzone 2.0 as a second part of the COD: Modern Warfare II, a free-to-play battle royale video game. It’s currently going through initial phases and plenty of players are experiencing multiple issues or bugs that need to be fixed by the developers. Meanwhile, several Call of Duty Warzone 2 players are facing the Error Code 0x8000FFFF/0x00000000 on their PC.
As the Warzone first part had rough patches due to the internet connectivity and server networking issues, unfortunately, players still encountered multiple errors with the COD Warzone 2. Well, the error code 0x8000FFFF/0x00000000 is one of the errors that has been reported on multiple forums such as Reddit and Twitter. It seems there are a couple of possible reasons behind such an issue on the PC that you can find below in brief.
Also Read
Fix: COD Warzone 2 Controller Not Working or Not Detected Error
Warzone 2 Not Using 100% GPU and CPU; how to Fix?
Best AMD and Nvidia Graphics Drivers for Warzone 2
MW2 and Warzone 2 Unsupported Device Warning Explained
How to Play Call of Duty Warzone Mobile on PC?
How to Increase Faction Reputation Quickly on COD Warzone 2 DMZ
Fix: Warzone 2 DMZ Can’t Access Backpack After Wallet Unlock
All Black Mous Faction Missions in Warzone 2 DMZ
How to Fix Warzone 2 Error Code 0x8000FFFF/0x00000000
So, issues with the overlay apps, outdated game version, issues with the registry values, corrupted or missing game files, corrupted game save data, antivirus program-related issues, etc might be a couple of reasons for the Warzone 2.0 0x8000FFFF/0x00000000 error code on the Windows computer. Luckily, here we’ve shared a couple of ways to fix such an issue that you can follow below. So, without wasting any more time, let’s jump into it.
1. Update COD Warzone 2.0
In some scenarios, it’s always a better idea to update the game version because an outdated game patch version can trigger several potential gaming device issues that lead to PC errors. To do so:
For Steam:
- Open the Steam client > Go to Library.
- Click on COD Warzone 2.0 from the list of installed games on the left pane.
- Now, the client will automatically search for the available update.
- If there is an update available, click on the Update option.
- Wait for a couple of minutes or so until the game update completes. [Depends on the storage space and internet connectivity]
- Once done, make sure to close the Steam client.
- Finally, reboot your PC to apply changes, and launch the COD Warzone 2.0 game again.
For Battle.net:
- Open the Battle.net (Blizzard) launcher.
- Click on the Blizzard logo from the top left corner.
- Go to Settings > Click on Game Install/Update.
- Click on Apply latest updates and download future patch data for recently played games to enable it.
- Now, click on Done to save changes > Restart the Battle.net launcher to apply changes.
- It should automatically update the game to the available version.
Also Read
COD Warzone 2 Best Graphics Settings for 3070, 3080, 3090, 1060, 1070, 2060, 2080, and More
How to Fix COD Warzone 2 Whitelist Failure Error
All Warzone 2 DMZ Factions and Missions Explained
All the Keys in COD MW2 Warzone 2 DMZ – DMZ Key Tier List
Discord Doesn’t Work while playing COD Warzone 2 / MW2: Fix?
All Faction Missions and Rewards in Warzone 2 DMZ Season 5
Fix: Warzone 2 Battle Pass Tokens Not Showing or Not Working
2. Repair Game Files
Sometimes corrupted or missing game files on the PC may trigger some issues with the game launching or occur multiple errors whatsoever. Make sure to verify the game files and repair them via the Steam or Battle.net client by following the steps below:
For Steam:
- Open the Steam client on the PC and log into the account.
- Go to Library > Right-click on the COD Warzone 2.0 game from the left pane.
- Click on Properties > Click on the Local Files tab.
- Then click on Verify Integrity of game files…
- Now, wait for the process to complete, and close the Steam client.
- Finally, restart the PC to apply changes.
For Battle.net:
- Open the Battle.net client on your PC.
- Click on the Call of Duty: Warzone 2.0 game.
- Now, click on OPTIONS (Gear icon) > Click on Scan and Repair.
- Choose Begin Scan and wait for the process to complete.
- Once done, close the Battle.net launcher, and restart your PC.
3. Turn Off Third-Party Overlay Apps
Mostly conflicts with the background running third-party overlay apps can trigger several issues with the game launching because they consume a lot of system resources just like the processes whenever you start the game. Even though the game doesn’t launch, the overlay app starts and runs until you close it manually. Some overlay apps may also start running while you boot the system at the beginning. So, try disabling overlay apps manually.
Disable Discord Overlay:
- Open the Discord app > Click on the gear icon (Settings) at the bottom.
- Select Overlay under App Settings > Turn on the Enable in-game overlay.
- Click on Games > Select Warzone 2.
- Make sure to turn off the Enable in-game overlay toggle.
- Once done, reboot your PC to apply changes.
Disable Xbox Game Bar:
- Press the Windows + I keys to open Settings.
- Now, click on Gaming > Go to Game Bar.
- Turn Off the Record game clips, screenshots, and broadcast using the Game bar option.
- Once done, save changes, and reboot the PC to apply changes.
Disable Nvidia GeForce Experience Overlay:
- Launch the Nvidia GeForce Experience app > Go to Settings.
- Click on General > Disable the In-Game Overlay option.
- Once done, restart the PC to apply changes.
Disable Steam Overlay:
- Open the Steam client > Click on Library.
- Right-click on Warzone 2 > Click on Properties.
- Click on General > Turn OFF the Enable the Steam Overlay while in-game option.
- Once done, reboot the PC to change the effects.
Some PC gamers or advanced users do also use some other overlay apps such as MSI Afterburner, Rivatuner, RGB software, etc. If you’re also using any other mouse or keyboard software or any RGB tool which isn’t necessary that much during gaming then it’s better to turn them off.
Also Read
4. Turn Off Windows Firewall and Antivirus Software
The chances are high that you’re using the default Windows Firewall protection on your PC but sometimes disabling it temporarily before launching any game might reduce startup crashing issues a lot. To do this:
- Click on the Start Menu > Type Windows Defender Firewall and open it.
- Next, click on Turn Windows Defender Firewall on or off from the left pane.
- Select the Turn off Windows Defender Firewall (not recommended) option for all domains.
- Once done, click on OK to save changes > Reboot your PC to apply changes.
Additionally, make sure to turn off the Windows Defender antivirus program on your PC to ensure there is no antivirus software blocking the game files. To do so:
- Press the Win+I keys to open Settings.
- Click on Update & Security > Click on Windows Security.
- Click on Open Windows Security > Go to Virus & threat protection.
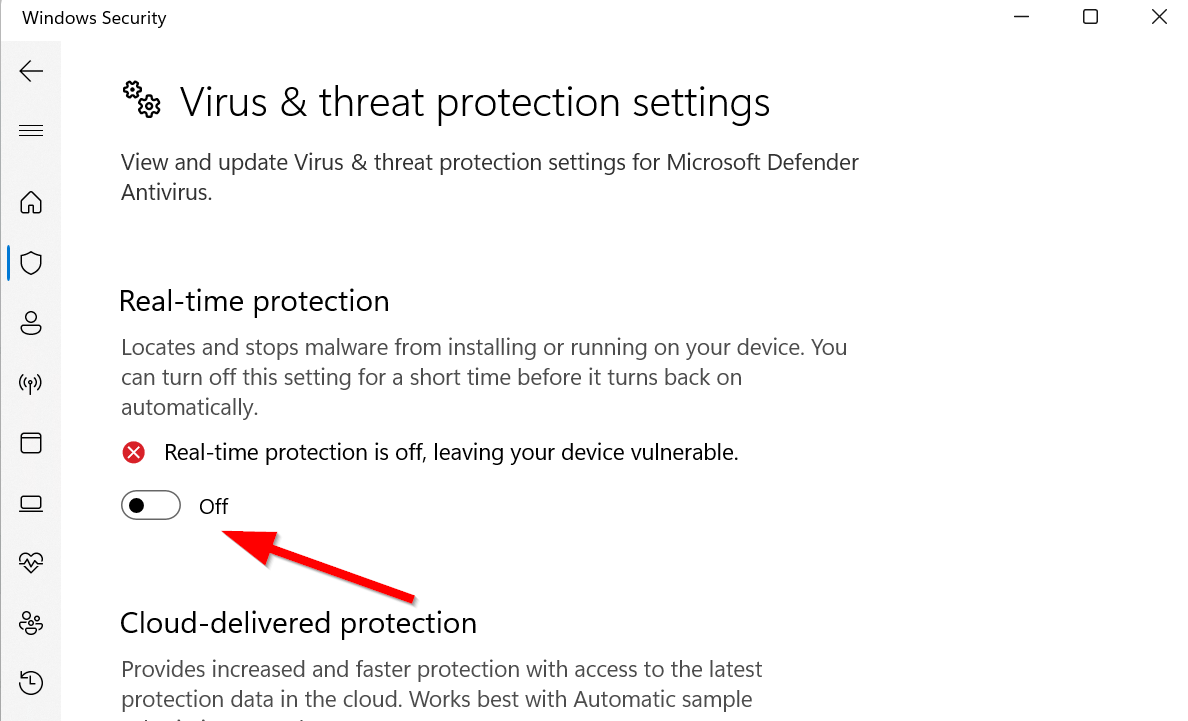
- Now, click on Manage settings > Just turn off the Real-time protection toggle.
- If prompted, click on Yes to proceed further.
Note: If you’re using any other third-party antivirus program on your PC then ensure to turn it off from its settings menu.
5. Delete Saved File
In some cases, corrupted or missing saved game files in the registry editor can cause several issues with the program launching and errors. You can try following the steps below to delete the saved game data manually to avoid such errors.
- Press the Win+R keys to open up the Run dialog box.
- Copy and paste %UserProfile%\Documents\ in the field and hit Enter.
- Finally, make sure to Delete the Call of Duty folder from the directory.
- Once done, reboot the PC to apply changes, and run the Warzone 2 game to check for the error.
6. Edit Windows Registry Settings
Some of the Warzone 2.0 players are suggesting editing registry settings by following the steps below that can help you to fix the Error Code 0x8000FFFF/0x00000000 on the PC. To do so:
- Press the Win+R keys to open up the Run dialogue box.
- Type regedit and click on OK to open Registry Editor.
- Copy the following registry address and search by pasting it.
Computer\HKEY_LOCAL_MACHINE\SOFTWARE\Microsoft\Cryptography
- Then double-click on the MachineGuid record to open it.
- Now, copy and paste the following code:
d1eb246e-6243-4460-a88e-5d4e52b1ef6b
- Once done, make sure to save changes.
- Finally, launch the game to check for the issue.
That’s it, guys. We assume this guide was helpful to you. For additional queries, you can comment below.