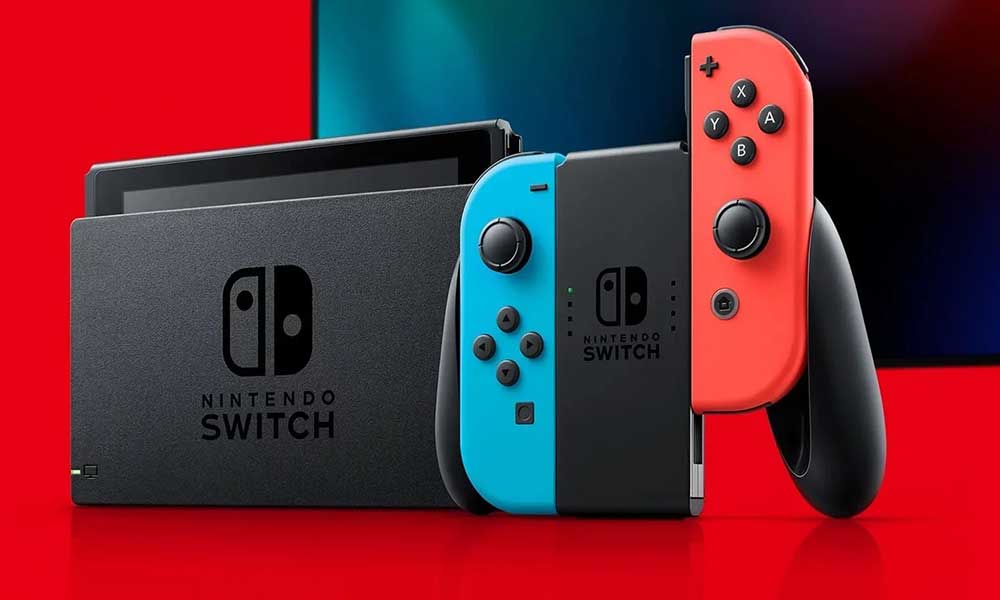
The Nintendo Switch is a lightweight, portable, and compact gaming console that offers huge online games. However, sometimes users may also experience some of the issues or errors while launching or playing games which are quite common these days. Just like other gaming consoles like PS4 or Xbox, this Nintendo Switch also offers technical errors that should be fixed as early as possible. So, as the title suggests, if you’re getting the Nintendo Switch Error Code 2124-8006 and 2124-8007 then check this troubleshooting guide in order to fix this issue completely.
Also Read
How to Fix Nintendo Switch OLED Screen Burn-in Issue
Nintendo Switch Error Code 2162-0002 After Update: How to Fix?
How to Watch Netflix on Nintendo Switch (Update 2021)
When is Fall Guys Coming To Nintendo Switch 2021?
Fix: Minecraft lags on Nintendo Switch After An Update
Fix: STAR WARS The Force Unleashed Not Loading or Crashing on Nintendo Switch
Fix: Nintendo Switch Stuck on Logo Screen
When Will Roblox Come to Nintendo Switch | Release Date
Fix: Nintendo Switch/OLED Touch Screen Not Working
5 Best Nintendo Switch Emulators for PC (100% Working)
How To Check If Your Nintendo Switch Is Moddable
According to the affected Switch users, the mentioned two error codes appears due to the issues with your Nintendo Account. Whenever users are unable to link a Nintendo Account to your Nintendo Switch console, they may receive this error code 2124-8006 and 2124-8007. Sometimes it can be possible due to the poor internet connection as well. Luckily, we have a couple of possible fixes that we’ve shared with you below. So, let’s take a quick look.

How to Fix Nintendo Switch Error Code 2124-8006 and 2124-8007
Keep in mind that a USB LAN Adapter can be connected to Nintendo Switch Lite using a licensed accessory like the Dual USB Play Stand from HORI. Now, talking about the mentioned issues, it’s expected that there is an issue with your DNS network settings, or maybe your internet connection isn’t that fast/stable and that’s why the connection gets timed out error.
- Reboot the Nintendo Switch console by long-pressing the Power button for 3 seconds > Select Power Options > Choose Restart.
- Power cycle your internet connectivity by rebooting the network device like router/modem.
- You can tweak DNS settings (Alternate) from the Switch to 8.8.4.4 or 1.0.0.1 (whichever works better) > Click on Save > OK.
- Similarly, you can also change the primary DNS settings from the Switch to 8.8.8.8 or 1.1.1.1 (whichever works better) > Click on Save > OK.
Note:
- Go to the Wi-Fi router homepage settings from your web browser > Go to Network > Wireless > Radio > Channel Bandwidth > Change it to 40MHz. You can also set it to 20MHz if you don’t have Spectrum. While some of the ISP users can set it to Auto mode as well.
- Place the router from the congested area and keep it in an open space or at a higher length to get seamless connectivity.
- Additionally, Wi-Fi users can set the connectivity in Switch from 2.4GHz to 5GHz for better response.
Also Read
Is it Possible to Add Nintendo Switch Friends on PS4 or PS5
Fix: Nintendo Account 2-Step Verification Code Not Working
Fix: Nintendo Switch Games Keep Corrupting or Damaged
How To Download Faster On Nintendo Switch in 2022
How to Fix Nintendo eShop Not Available in Your Country/Region
Pokemon Scarlet and Violet Connection Issues, Is There A Fix?
Fix: Nintendo Switch Sound But No Picture
How To Track a Lost Nintendo Switch
That’s it, guys. We hope you’ve found this article useful. For more queries, you can comment below.
- How To Fix Nintendo Switch 2811-7503 Error
- Fix Control On Nintendo Switch Connecting to Cloud Server Error
- Fix Nintendo Switch Error Code 9001-0026
- How To Fix Nintendo Switch Error Message 2002-3537
- How to Fix Nintendo Switch Error Code: 2618-0513
- Nintendo Switch Error Code 2162-0002 After Update: How to Fix?
- How to Fix Nintendo Switch Error Code 2002-2001: SD Card Issue
- How to Fix Nintendo Switch Error Code 2137-8006
- How to Fix Nintendo Switch Error: Won’t connect to WiFi or Internet Connection
- How to fix Nintendo Wi-Fi Error 003-1099 coming while trying to connect?
